Today's project I decided to show you a set made by Art Impressions that sells the Action Wobbles with the stamp so that you may try them out and fall in love, or if you love the idea of the Action Wobbles you can also purchase them from the OCS Store in a 6 pack or 12 pack to start playing and enjoying all the fun!
So now that I have got you interested, here is my project for you today....
In the photo below you can see the supplies that I used for this fun project,

* Art Impressions Elf Shaker Stamp Set (Elf, Present, Sentiment and Wobble)
* Coloured Image
* Coloured / Paper Pieced Present for the Wobble part
* Your Card Base (I have chosen to complete a Isle card)
* Patterned Paper: Doodlebug 6x6 Frosty Friends
* Your Next Stamp Gumdrops - Glitter Silver (also highly addictive!)
* Memento Inks: Tuxedo Black, Nautical Blue & Grape Jelly
* 3D Pop Dots
* Squishy Scissors to cut out the Wobble present piece(and paper pieced pieces)
* Copic Xpress It Card Stock
* Copic Sketch Markers
Below is a close up of my coloured image, the Wobble part of the present and the Action Wobble. As you can see I did not colour the present on the image the same as the Wobble present. The reason for this is that you will not see much of the background present so I coloured it in the darker hues to make it look like shadows instead, but you can colour it completely the same as the Wobble piece if preferred.
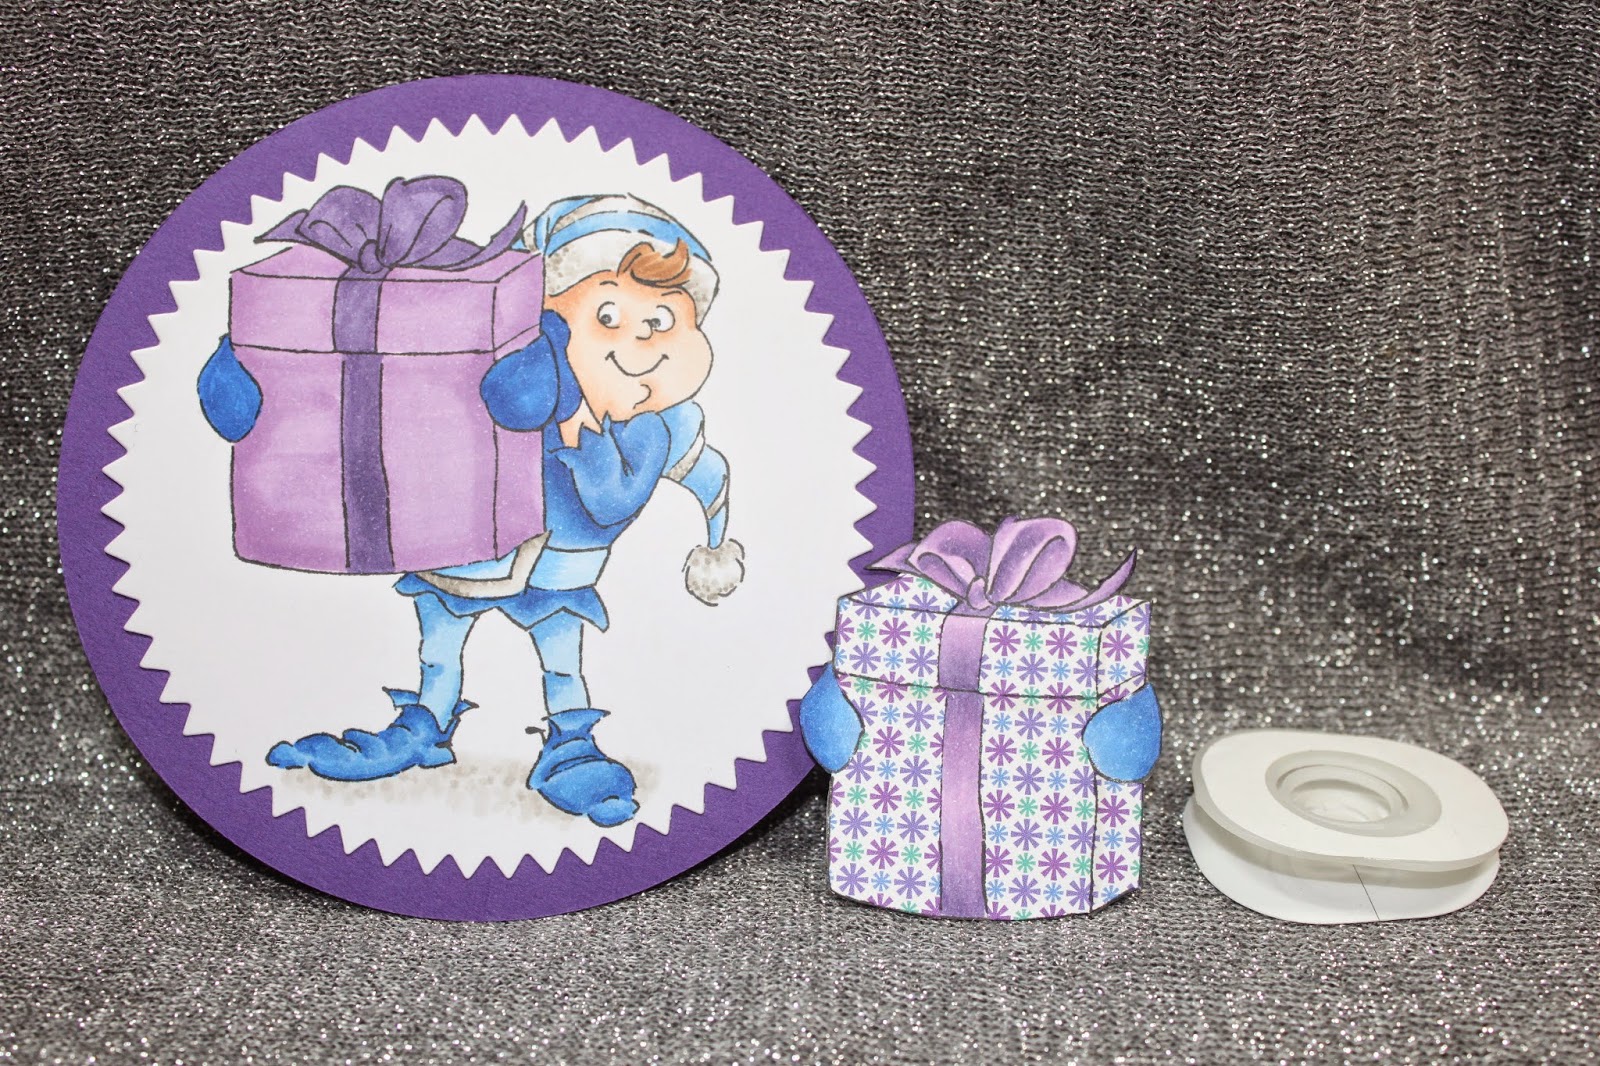
* Skin: E11, E00, E000
* Hair: E25, E23, E21
* Blues: B28, B26, B24, B23, B21
* Purples: V17, V15, V12
* Greys: W5, W3, W1
* Present: paper pieces with Doodlebug 6x6 Frosty Friends
Once you have you image all coloured and ready to assemble, turn your Wobble piece upside down and remove the paper from the "image" side of the Action Wobble and attach to the center of your piece as shown below....

Next step is to remove the other backing on the Action Wobble and place your Wobble piece exactly over the same part of you image that matches. In my picture below the Wobble piece looks off but it is only because I have taken the photo from the side to show you the amazing height of the Action Wobble =) ....

Below you can see the Action Wobble in "action" shakin' around....

Assemble your project....

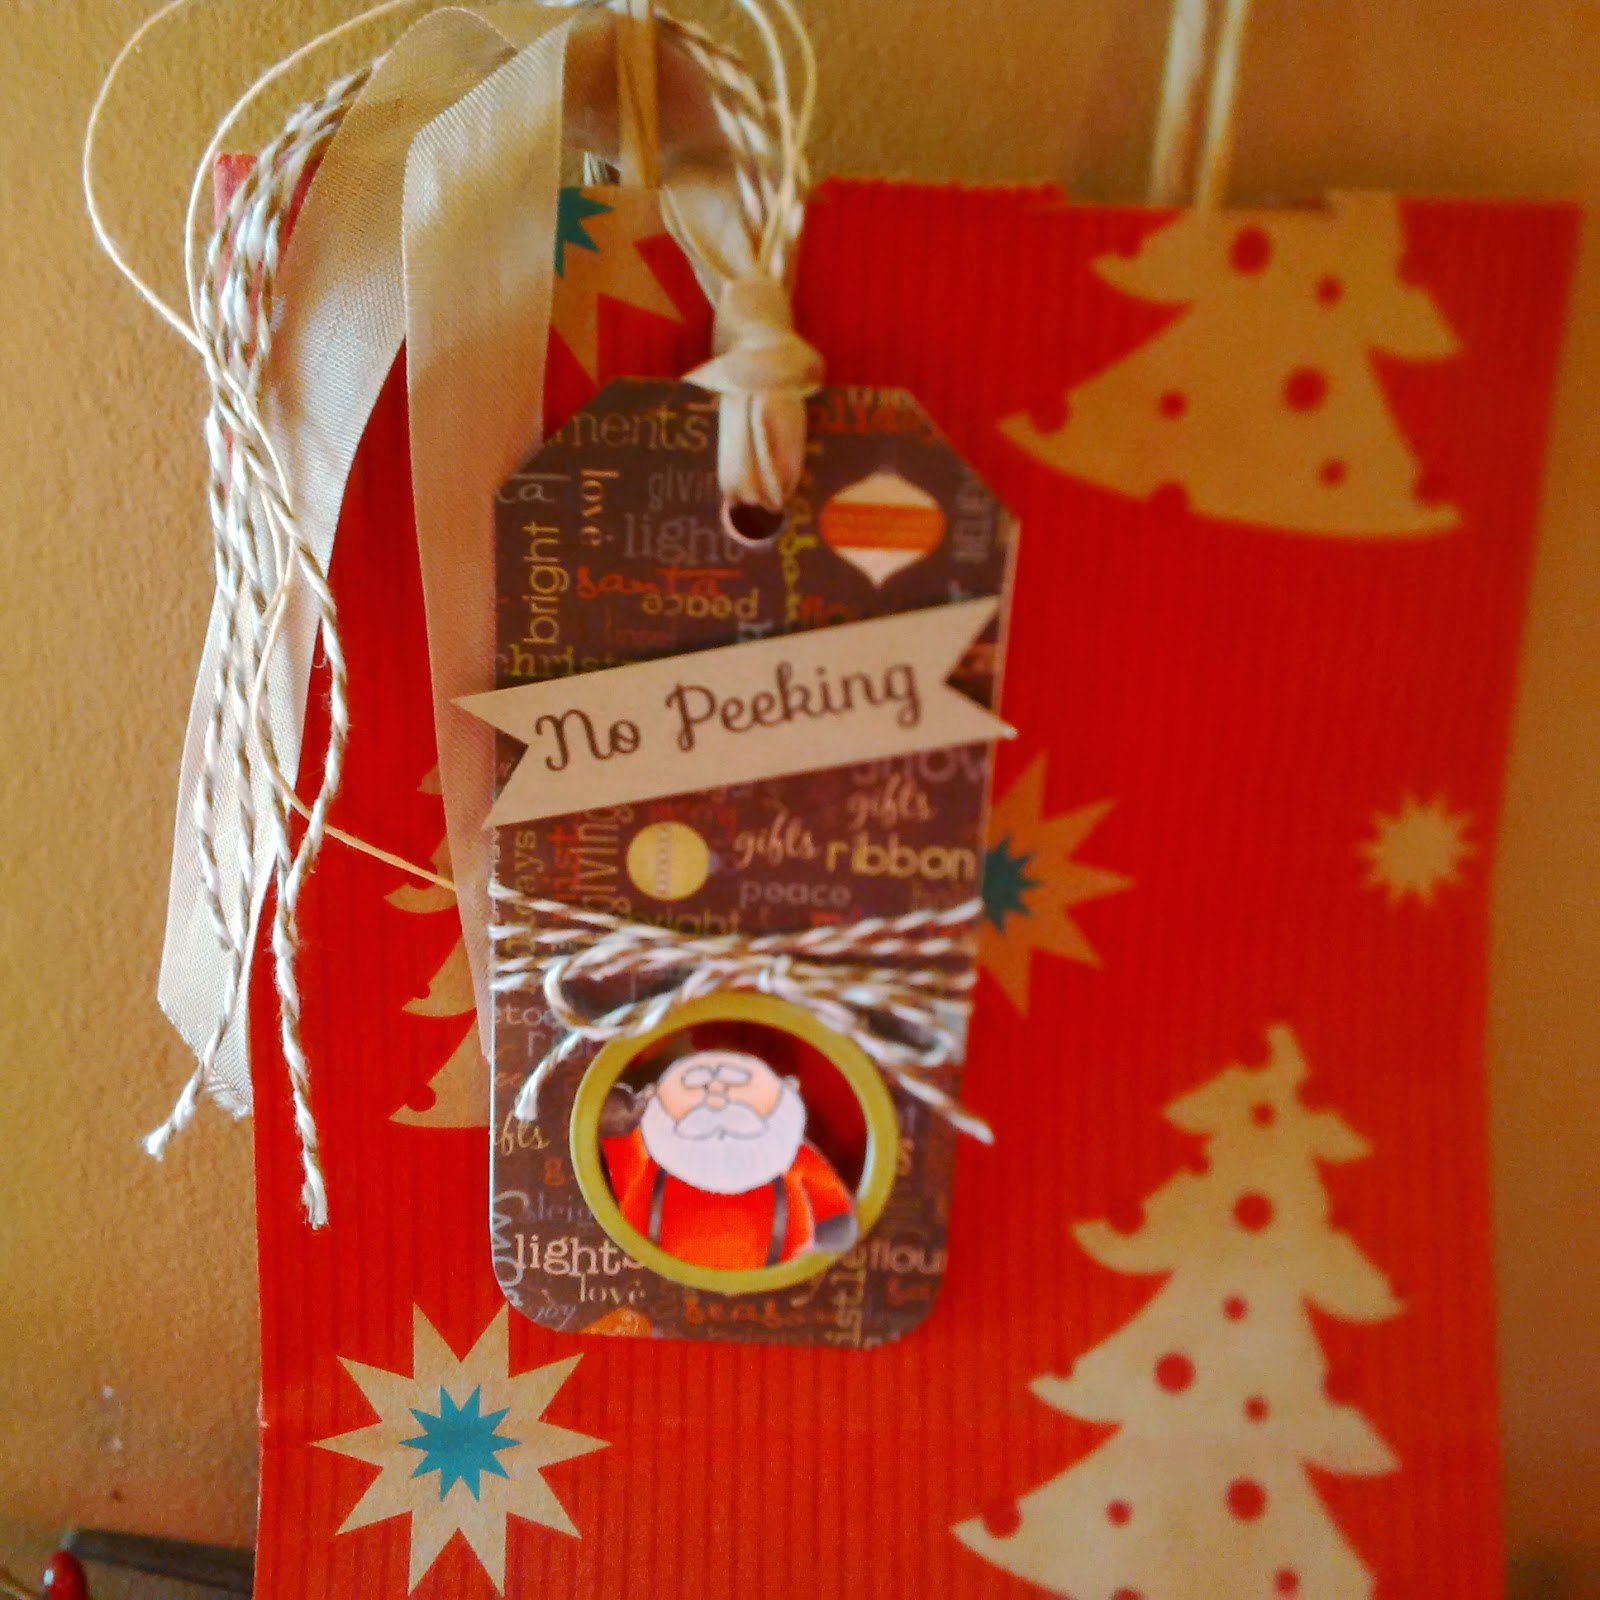
And Voila! Here is the finished project! I have made this fun card and matching gift bag for my Sister-in-Law who loves purple =) ....

I hope that you enjoyed today's tutorial and I really hope that you will try out these amazing Action Wobbles, you will not be disappointed. I would love to hear what you think!
Until Next Time, Keep Crafting!
Hugs;