Christmas Countdown:

Showing posts with label Marianne Design. Show all posts

Friday, July 19, 2013

For A Sweet Friend

Hello and HAPPY FRIDAY!!!! Wow this week has been a HOT one here in Southern Ontario, boy am I glad the week is finally over so that I can spend LOTS of time in my air-conditioned Pink Palace! 

Today I have a Birthday card to show to you that I made for a friend of mine =)  As soon as I saw this adorable image all I saw was her sitting on a dock dangling her feet in the water, what do you think of my interpretation?


Here is a look at the inside of the card....
 Supplies Used: 
* Memento Inks: Tuxedo Black & Tangelo 
* Patterned Paper:  from my stash
* Pink Cardstock:  Michaels 8.5x11 Paper Pack
* Orange Cardstock:  Stampin` Up, Peach Parfait 8.5x11
* Water Paper: Creative Memories 8x10 loose papers
* Spellbinders: Classic Ovals Lg + Scalloped Ovals Sm
* My Favorite Things Die-Namics:  Fishtail Flag Stax + Fishtail Flag Layers Stax
* Outside Sentiment: My Favorite Things, All Occasions Sentiments
* Inside Sentiment:  My Favorite Things, More Essential Sentiments
* Flowers: Local $ Store
* ColorBox Chalk: Blue Lagoon 
Here is a close up look at the adorable image to see the Copic colours used....
Copic Colours Used: 
* Skin: E11, E00, E000 
* Hair: E37, YR24, YR21 
* Blue:  B16, B14, B12 
* Oranges:  YR16, YR14, YR12 
* Pinks: R56, R85, R83, R81 
* Green:  G46, G43, G40 
* Browns:  E37, E35, E33
Also as you can see in the picture below I made this adorable card to match with the Envelope that I made using the new Making Memories Envelope Board, so cool eh?
I hope that you enjoyed today`s post and I hope to see you back on the 25th of this month for my monthly Christmas Card Hop!!! =)  Enjoy your weekend!

Until Next Time, Keep Crafting!
Hugs;

Friday, June 21, 2013

My Carousel Card Tutorial for OCS!

Hello and happy Friday! Today is a special post for me as it is my turn to share with you a tutorial for my One Crazy Stamper Design Team and Ichose to show you how to create a "Carousel" Card/Book. What I love most about this type of card is that it is a gift all on it's own for whom ever you create it for, I guess you could say it is a mini book card. When I was creating this card I used my favorite colour, adorable images and sweet sentiments.

I am going to forewarn you that this post is going to be VERY picture heavy. I am not a videographer so I decided to make my tutorial using photos - I sure hope you enjoy it and I would LOVE to hear your thoughts after you have had a chance to check it out!

What made me want to make this card is this amazing Marianne Design Card Carousel Die that Lora sells in the One Crazy Stamper store, here is a photo for you to see what the die looks like...
This great Craftable Carousel die will give you the opportunity to make unbelievable cards. You can make a full circle (which is what I have to show to you today using the largest of the dies), half a circle, or just a quarter. The possibilities are endless!

Here are photos of the tools and supplies that I used to create this amazing card....
Supplies Used: * Whimsy Wee Stamps - Rosetta, Flower Fairies & Ruby * DoCrafts Wellington 8x8 Stamp Set * Your Next Stamp, Watnot Sentiments * Stampabilities True Friends Sentiment * High Hopes Thinking of You Sentiment * Menento Inks - Tuxedo Black, Rich Cocoa & Rhubarb Stalk * Copic Xpress It Paper * Copic Sketch Markers (colours used listed below) * Scor-Pal 1/8 Scor Tape * Scor-Pal * Bazzill Basics Simply Smooth White Cardstock (for card Base & carousel) * Squishy Scissors (for intricate cutting) * Quickie Glue Pen * Fairy Dust Glitter, Sugar Shimmer * Glue Dots * Marianne Design Card Carousel Die * Spellbinder Die - Blossoms Three * My Favorite Things Die-Namics - Flag Stax, Flag Stax Layers & Flower Trio * Sheer Ribbon (approx. 2x 7 inches long) * Pink Shimmer Card Stock * Patterened Papers: MME 6x6 Pads - Love Me & Indie Chic Safron + Lost & Found 6x6 - Blush * Various Sentiments to match your theme * ATG *  (All links listed are products available at www.OneCrazyStamper.com)
 
So Here we go!
 
Directions:
* To start off you will need to cut out your card base, cut 2 @ 10-1/4 x 6 + 1 @ 6 x 5-1/8

* You will need to choose your paper(s) and cut 10 @ 5-3/8 x 4-3/8. I chose 5 different co-ordinating papers and cut 2 of each.

*Choose 4 images and 4 sentiments + a cover sentiment or decorative- I also chose to put a "handmade by" stamp on the back of the card. The reason I did not put an image on the front and chose a sentiment instead is because when the carousel is opened the front and back of the card is not seen. Also I chose a Spellbinder set that co-ordinated with my images and also had a few different size selections that I used throughout the whole card for a uniform look (I am a little anal that way if you have not noticed)
*Next you will need to cut out 4 pieces of the Marianne Design Card Carousel Die - see picture below....

*Using your ScorPal, score where I have noted on the bottom right die cut in the picture above.
* Next I put my card 2 large pieces of the cardbase together on top of each other and the smaller piece in the center of the "book", then I placed all my patterened papers on the the card bases in the order that I wanted them to be seen on the carousel. Be sure to attach a piece of ribbon on the underside ofthe front andback pieces of paper so as to create the tie to close the card.
*Once you have on your papers, add your "flower"anchors where two pages of the book join to keep each page attached to each other (this step can been seen on each page showing an image below).
*Next you will want to add your sentiments and coloured images to all the remaining pages. Dont forget to add a "Handmade by" on the back cover!
*Once you have all your indsides completed, add adhesive to the small scored tabs of the carousel die pieces and attach to each section of the insideofthe book.
Below I have pictures to show you of each completed step of my book! Copic colours used on all images will be listed at the end of this post for your refference if interested.
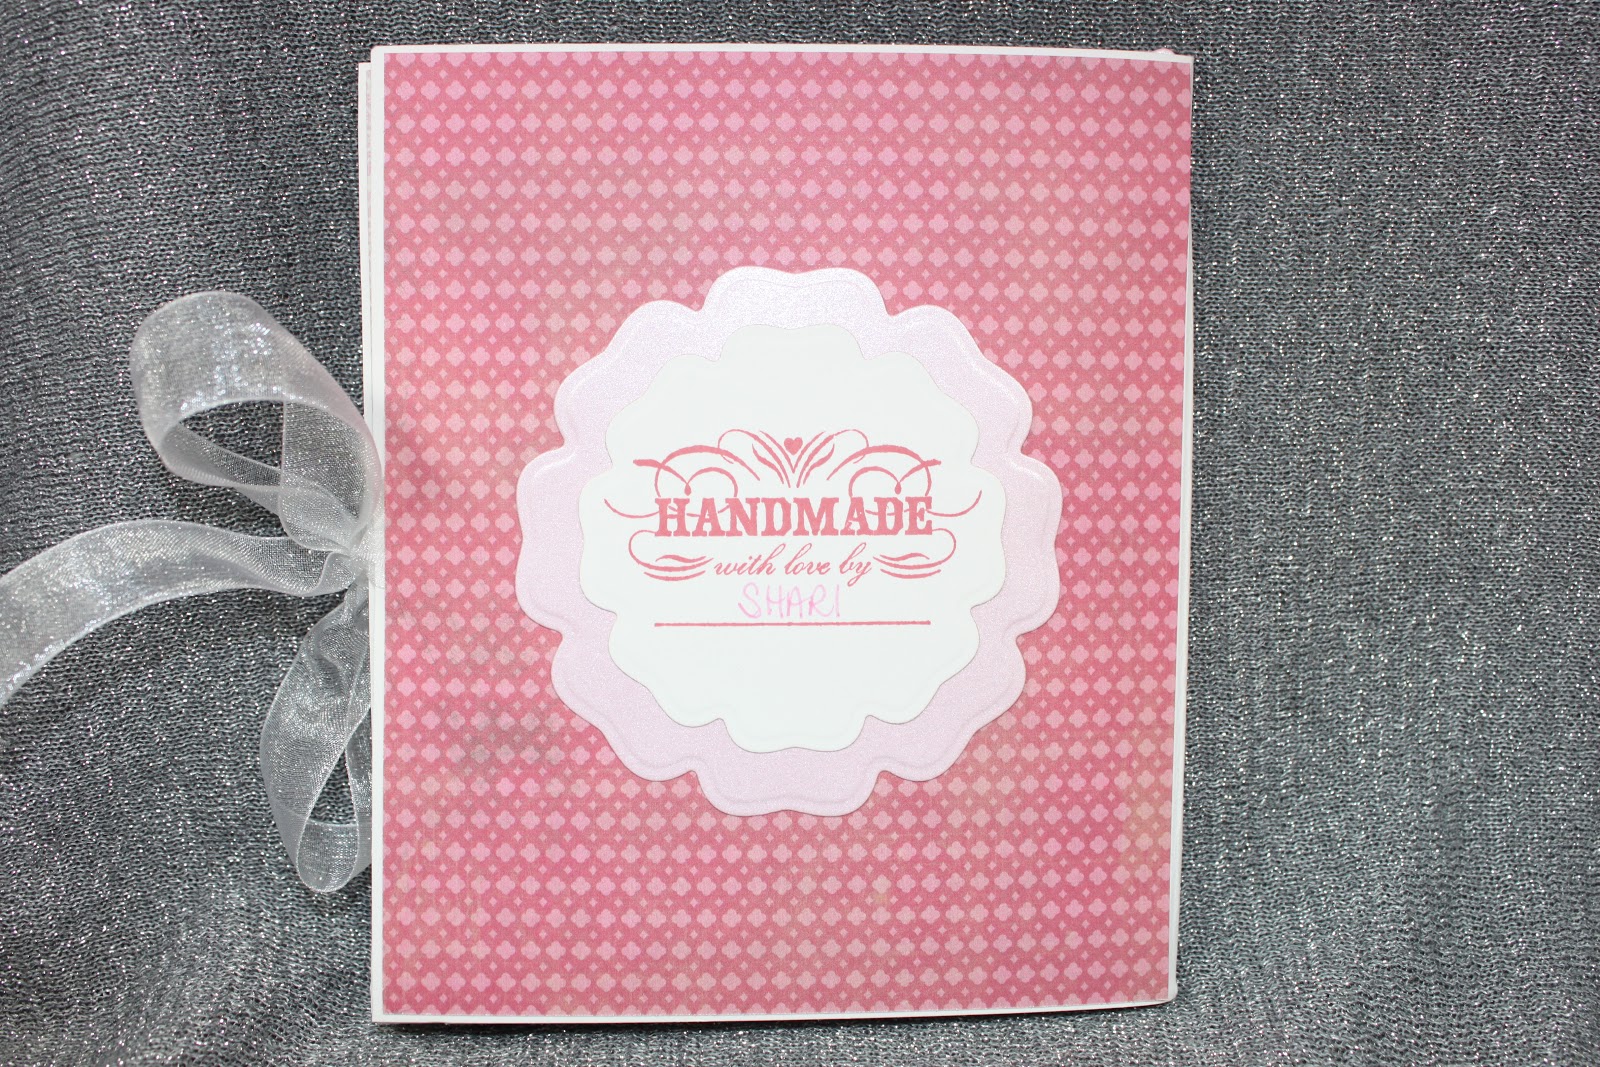
*My outside cover using the wonderful sentiment from DoCrafts Wellington 8x8 Stamp Set....
*Below is page one & two of my book...

*Here is a close up of the High Hopes Sentiment that I used on page 1....

*Here is a close up of the Whimsey Wee Stamps Rosetta with a paper pieced vest, that I used on page 2. I did 3D effect the larges flower as well...


*Below is page 3 & 4 of my book....

*Here is a close up of the Whimsey Wee Stamps Flower Fairies (#1) with a paper pieced dress, that I used on page 3....

*Here is a close up of the Your Next Stamp Whatnot Sentiment that I used on page 4....

*Below is page 5 & 6 of my book....

*Here is a close up of the Stampabilities True Friends Sentiment that I used on page 5....

*Here is a close up of the Whimsey Wee Stamps Flower Fairies (#2) with a paper pieced dress, that I used on page 6....
*Below is page 7 & 8 of my book....

*Here is a close up of the Whimsey Wee Stamps Ruby with a paper pieced vest, that I used on page 7....

*Here is a close up of the Your Next Stamp Whatnot Sentiment that I used on page 8 - this is also where I will write a little some thing to the recipient of the beautiful book/card....

*This is the back cover ofmy book that I decided to put a "Handmade By" sentiment to finish off the project. Tie up the book with a pretty little bow and voila!...


*Here is a view of the book before it is tied into the carousel....

*Here is what the full carousel card looks like when opened and tied on the side - pictures sure do not do this justice so hope you get the jist of it....
Copic Colours used on all Images:
* Skin:  E11, E00, E000
* Dark Hair:  E49, 59, E25, E50
* Lighter Hair:  E29, E27, E23, E50
* Pinks:  R56, R85, R83, R81, RV10, RV000
* Greens:  G24, G21, G20
* Other:  E40, E23
Well, that is my tutorial I prepared for you, I hope that you will give it a try as I am sure you will see a few more of these in the future because they are soooo much fun to make! I would sure love to hear your thoughts on this fun card if you have time =)
 
Until Next Time, Keep Crafting!
Hugs;

Saturday, May 25, 2013

7 Months Till Christmas!!!

Hello and Welcome to our 7 Months Till Christmas Hop where our theme this month is.... Festive Flowers! I had so much fun making my cards for this hop and I hope you enjoy them as much as I do.  But before I show you the cards I want you all to know that one of our Design Team member is not able to join us this month as she is at home taking care of her brand new baby boy - Congratulations TARA.  If you have time, please pop on over to her blog and and send her love and congratulations =)

I am the first stop on our fun little hope and at the end of this post Iwill have the full hop order for you to follow along.  If you are not a regular follower of our little hop we will each have 2 Christmas projects to show you in hopes to inspire you to get a head start on your Christmas projects as well to releave some of the stress that the wonderful holidays always seems to cause us =)

Here is my first card I have to show you following our Festive Flowers theme....
I fell in love with this image as soon as I saw the stamp, because it has my three favorite birds on it and I could not wait to play with it!

Here is a look at the inside of the card....
SUPPLIES USED:
* Image:  NorthwoodsRubber Stamps Inc.
* Copic Xpress It Paper
* Copic Markers
* Memento Inks: Tuxedo Black, Rhubarb Stalk & Olive Grove
* Paper: Echo Park 6x6 Paper Pack, Very Merry Christmas
* Cardstock:  Michaels 8.5x11 Paper Pack
* Vellum frommy stash
* Spellbinders: Petite Ovals Large & Petite Scalloped Ovals Small
* Glue Dots
* 3D Pop Dots
* Quickie Glue
* Fairy Dust Glitter - Sugar Shimmer
* Sentiments:My Favorite Things, Mery & Bright + Sparkling Season Set
* Green Gem Brads:  Michaels
* Festive Flowers:  Michaels

Here is a close up of the beautiful birds to show you the Copic colours used....

COPIC COLOURS USED:
* Blues:  B39, B37, B34
* Greys:  N6, N4, N2, N0, 0
* Reds:  R59, R39, R37, R35
* Browns:  E29, E27, E25, E53, E51, E50
* Oranges:  YR14, YR12
* Greens:  G29,24

Now on to my second card, but before you faint when looking at it I will warn you, no Copic markers were involved when making this card!  I know shocking isn't it - but I think it turned out so beautiful, check it out.... 

Here is a look at the inside of the card....
 SUPPLIES USED:
* Image:  Inkadinkadoo Winter Cabin Scene
* Memento Ink:  Rich Cocoa
* Copic Xpress It Paper
* Score Tape 6x6 Sheet (cut to size)
* Glitter Ritz: Warm Highlight
* Spellbinders:  Small Deckled Rectangles & Large Deckled Retangels
* Poinsettia Die: Marianne Designs
* Paper:  Teresa Colins 6x6 Paper Pad, Christmas Cottage
* Gold Cardstock: Creative Memories 12x12
* Inside Sentiment:  Craft Lounge, Merry Wishes Set
* 3D Pop Dots
* Glue Dots
* Stickles: Platinum

 Here is a closer look at the flower to see the embossing details as well as the stamped image too....

So what did you think?  I would love to hear your thoughs =)  Below you can find the hop order for this month, hope you have a great time hoping and visiting our talented Design Team, your next stop is my BFF Heather's Blog!

This Months Blog Hop Order:
Shari (you are here!)

Thank you for visiting us today and I hope that you enjoy our fun little hope we do every month on the 25th to count down to Christmas!


Until Next Time, Keep Crafting & Merry Christmas!!!
Hugs;

Saturday, April 28, 2012

Thank You BFF Heather!

As some of you may know, it was my birthday last month, and I wanted to share with you a thank you card that I made for my BFF Heather.

She is a very crafty girl who loves to papercraft and also knit.  She knitted me this georgeous scarf for my birthday present....(picture taken from Heather's blog: http://princesspaperprojects.blogspot.ca/)

Here is the Thank You card I made for her.....The little girl knitting kind of looks like her!....
SUPPLIES USED:
* 5x6.5 card & envelope
* Copic Xpress Paper
* Memento Tuxedo Black Ink
* Image:  Marianne Design -Don & Daisy series - Daisy Knitting (purchased at One Crazy Stamper)
* Copic Markers (colours listed below)
* Outside & Inside Sentiments: Michaels $1.50 bin
* RicRac Ribbon: Michaels $1.50 bin
* Patterned Paper: Echo Park 6x6 Paper Pad - Yours Truly
* Cardstock: 6x6 paper pad frommy local $ Store
* Spellbinders Nestabilities: Lacey Squares
* Cuttlebug (to cut Spellbinder shape)
* Creative Memories Corner Rounder (for the image)
* Blue Gems: Close To My Heart Sparkles
* Blue Ink: Close to My Heart - Star Spangled Blue
* Creative Memories Flower Corner Punch for the inside decoration
* Ribbon Glue
* Sakura Clear Glaz Pen
* ATG

Here is a picture of the inside.  The reason I put the sentiment and decoration all at the top of the card is because I am writting a lot on the inside so I wanted to be sure to leave enough room....

Here is a close up of the coloured image.......Please note, I drew in the tongue on the face, this is not on the image normally (Heather will know why, He he he, SOCKS Heather!)....
COPIC COLOURS USED:
* SKIN:  E11, E00, E000
* HAIR:  E59, E49, E31
* TONGUE:  R83
* DRESS & SOCKS:  R56, R85, R83, R81 (pink is Heather's fav colour!)
* COUCH:  E43, E42, E41
* LAMP POST:  E29, E25
* LAMP SHADE:  E44, E43, E42, E41, E40, Y11
* LAMP LIGHTING:  Y11, Y00, Y000, 0
* KNITTING NEEDLES:  C3, C1 + Sakura Clear Glaz Pen
* YARN:  B39, B37, B34 (to match the scarf she made me!)
* GROUND:  E44, E43, E42, E41, E40

I hope that you enjoyed today's post! I would love to hear from you, your comments make me smile =)

Until next time, Keep Crafting!
Shari


Related Posts Plugin for WordPress, Blogger...